

Fix a split seam on a raincoat in less than 5 minutes
- Oct 7, 2025
- 1 min read
It’s been raining all day, and my niece’s little raincoat had a split seam. Instead of tossing it, I decided to fix it. The best part is, this trick works on any raincoat, so you can save yours too.
Living sustainably is really important to me, I would always rather fix something than have it go to landfill. There is joy to be found in repairing rather than replacing. It is empowering to learn these skills so you can easily fix things yourself.
What You’ll Need
Needle
Match thread
Scissors
Step-by-Step Tutorial
Step 1: tie the loose threads together in a double knot. As you pull the loose threads it should bring the sides of the seam back together. This will secure the seam and stop it splitting any further. Once tied cut any loose threads.
Step 2. Sew together using a ladder stitch. This is where you do a basic straight stitch on either side of the gap, alternating sides with each stitch. The stitches should all be facing the same direction. After about 4-5 stitches if you gently pull the threads the seam should close together and conceal all stitches
Step 3: once you have reached the end of the split seat move through the seams into the lining. Repeat step 2 across the split lining seam.
When you reach the end of the seam repeat the last stitch several times and then trim any loose threads.
Hurray your repair is completed 🙌🏻
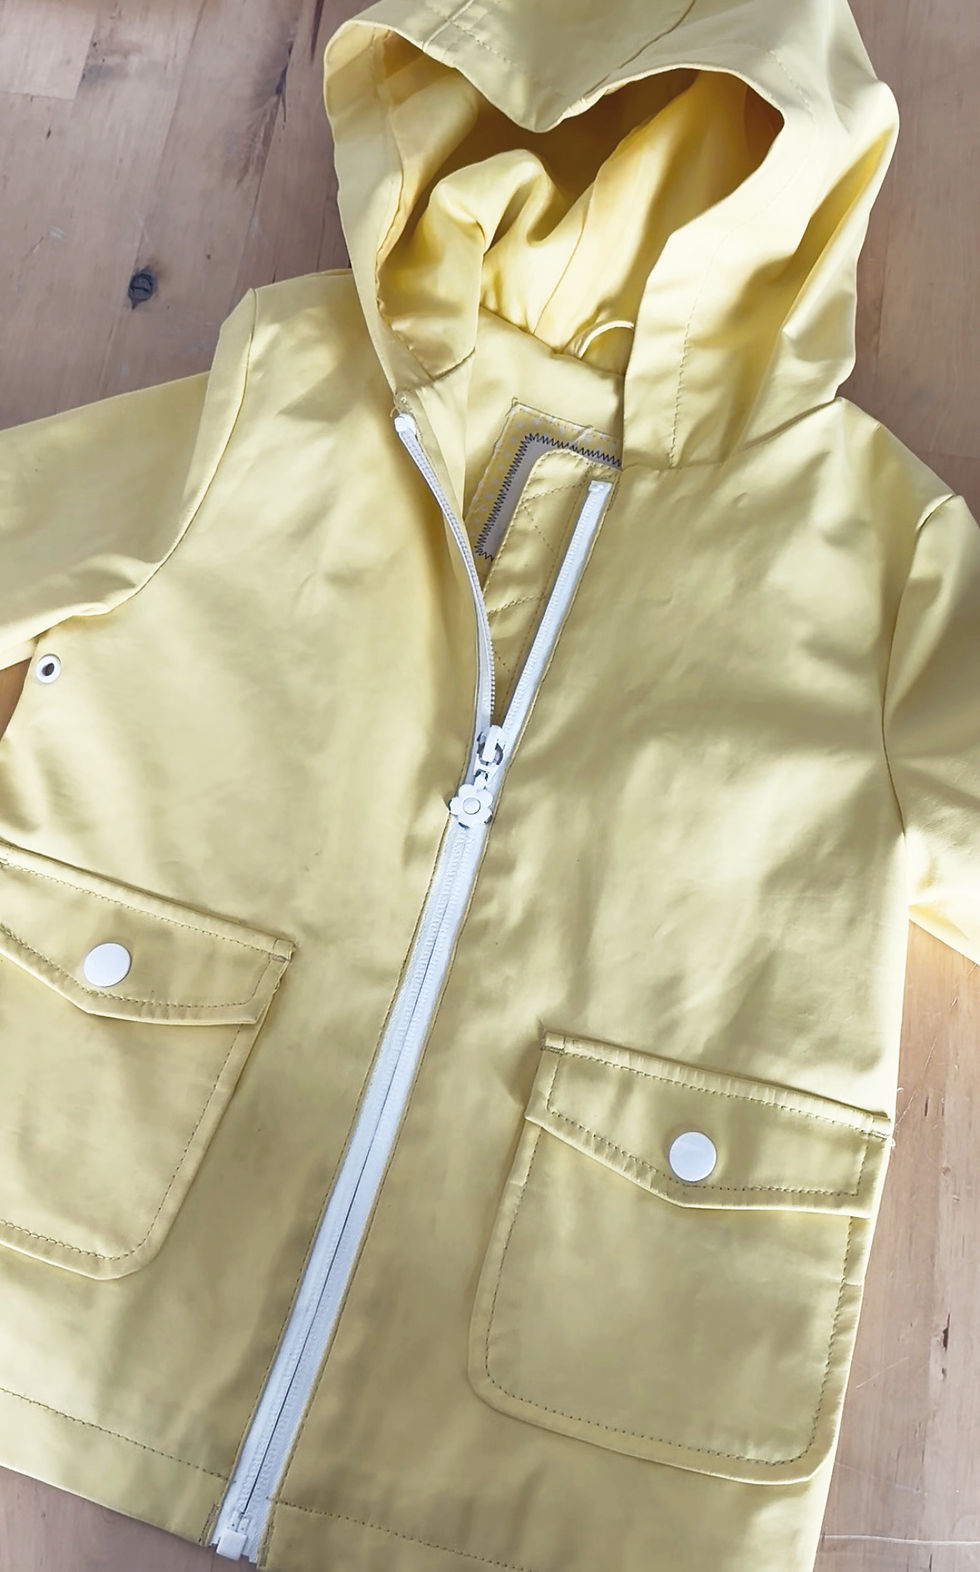
Front of raincoat


Comments